Thymeleaf Integration
About
Thymeleaf is a server-side Java template engine that is commonly used in web development, particularly in Java-based applications. It allows developers to create dynamic web pages by combining HTML templates with server-side data and logic.
Thymeleaf uses a syntax that is similar to HTML, making it relatively easy for developers to learn and use. Thymeleaf allows us to use the full power of Java within our templates, including conditional statements, loops, variables, and method invocations. This makes it flexible and powerful for handling complex rendering scenarios. Compared to client-side rendering frameworks, server-side rendering with Thymeleaf may have a performance overhead due to the need for server processing. If we have complex client-side logic, we may need to integrate Thymeleaf with a separate JavaScript framework.
In Thymeleaf, "th:" is a prefix used to indicate Thymeleaf-specific attributes within HTML templates. It is used to define and manipulate data in the template, control rendering behavior, and perform various other operations. The "th:" prefix stands for "Thymeleaf".
For example, some commonly used Thymeleaf attributes include:
"th:text": Sets the text value of an HTML element based on the provided expression.
"th:if" and "th:unless": Conditionally renders or omits an HTML element based on a specified condition.
"th:each": Iterates over a collection and renders HTML elements for each item in the collection.
Features of Thymeleaf
Server-side rendering: Thymeleaf enables server-side rendering of web pages, which means that the HTML templates are processed on the server before being sent to the client's browser. This allows for the dynamic generation of web content based on data from the server.
Data binding: Thymeleaf provides a way to bind data from the server to the HTML templates. It allows us to insert data dynamically into the templates, making it easy to display and manipulate server-side data on the client side.
Template layout: Thymeleaf supports the creation of reusable templates and layout components, which can be shared across multiple pages. This makes it easier to maintain consistent designs and improve code reusability.
Integration with Spring Framework: Thymeleaf integrates well with the Spring Framework, especially with the Spring Boot ecosystem. It is the default template engine for Spring Boot applications, providing seamless integration with other Spring features and libraries.
Overall, Thymeleaf is a powerful and popular choice for server-side Java web development, particularly in the Spring Boot ecosystem. Its simplicity, integration with Spring, and the ability to leverage the full power of Java within templates make it a compelling option for building dynamic web applications.
For more details, visit the official site - https://www.thymeleaf.org/index.html
Use Case
To build a login and dashboard using Thymeleaf and Spring Boot, combining the flexibility of server-side rendering with the security of database validation.
Setting up of MySQL using docker-compose method. Later on, we will connect this instance with MySQL Workbench and create user_credentials table along with test data.
docker-compose.yaml
Start the mysql instance

Open the MySQL Workbench and execute below SQL commands.

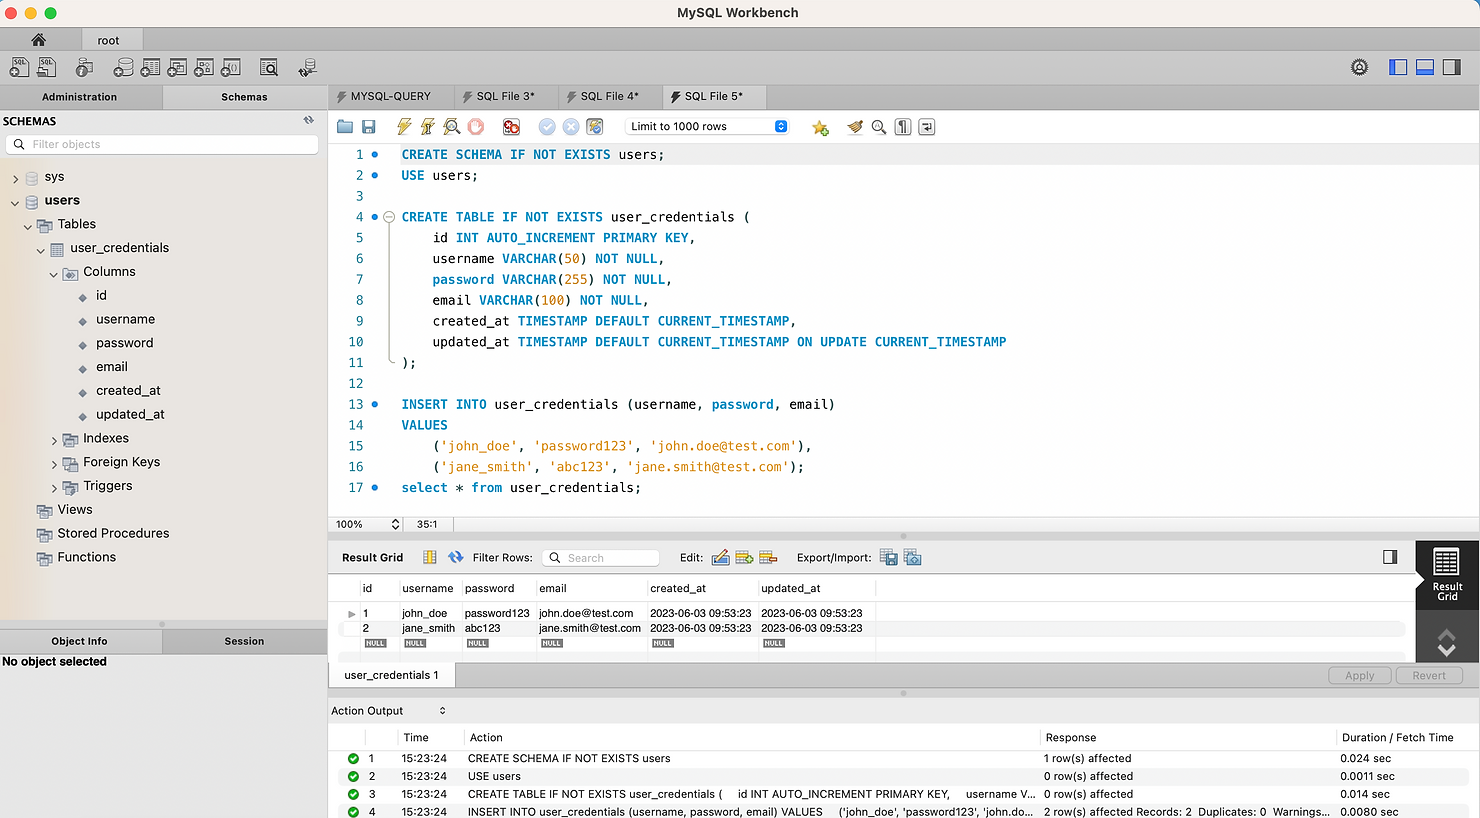
Let's proceed with creating our Springboot project
Add the below dependencies in pom.xml file.
pom.xml
application.yaml
We will be using HTML templates available for use freely in the project. Download the login and dashboard template from the below sites
Login Template - https://colorlib.com/wp/template/login-form-v8/
Dashboard Template - https://html.design/?s=digit
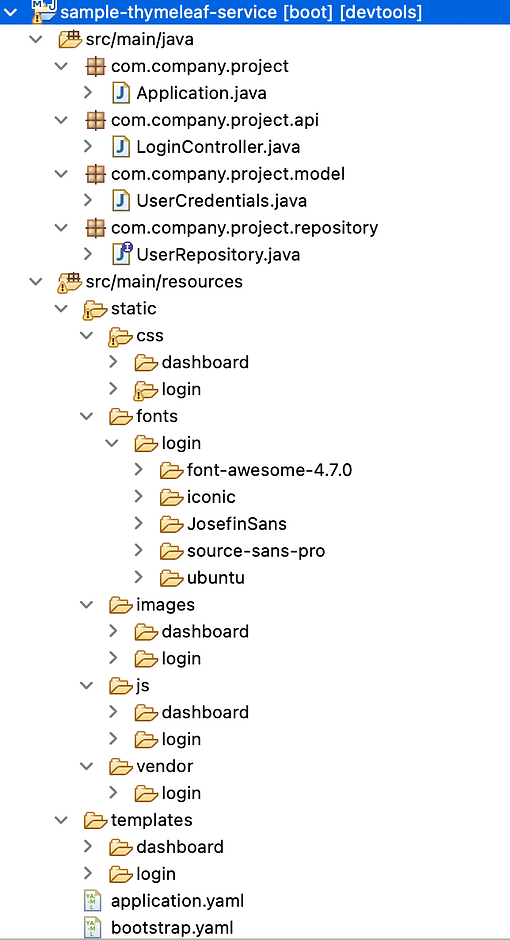
Create a folder structure like below add the files in the respective folder
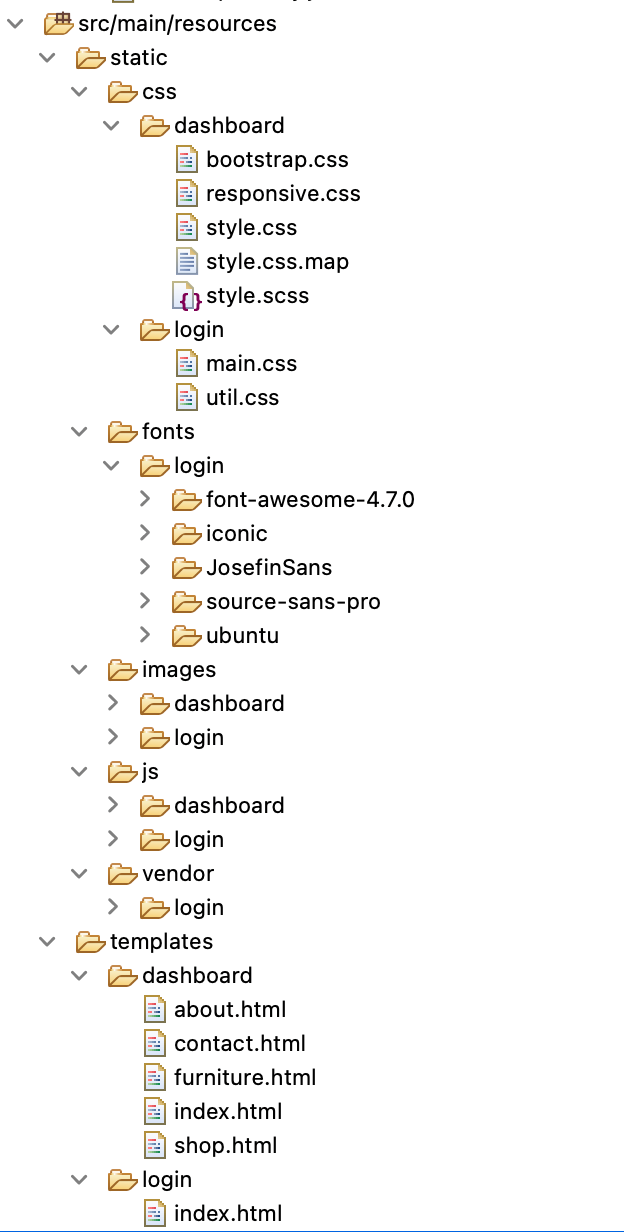
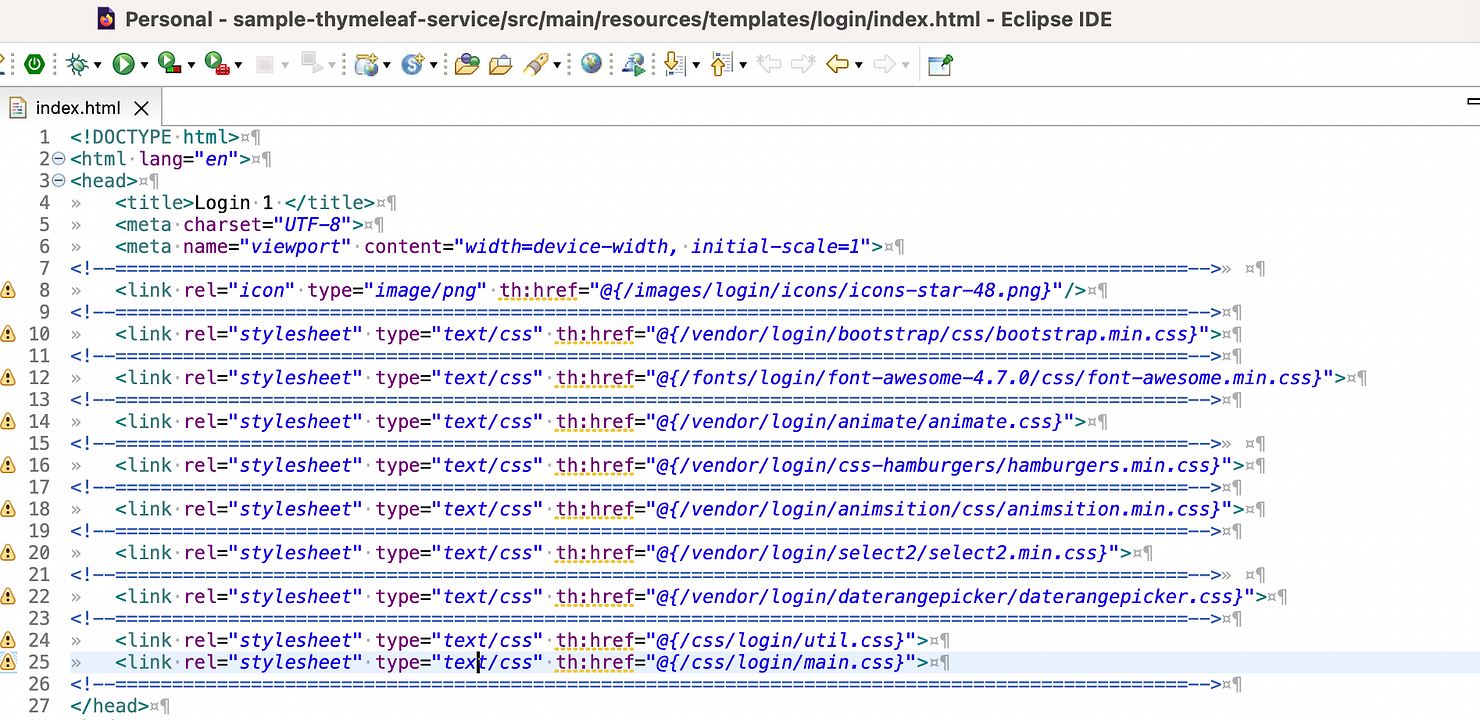
Later, we have the update the path in the html files like below as well as update the attribute to Thymeleaf attributes. For example below.
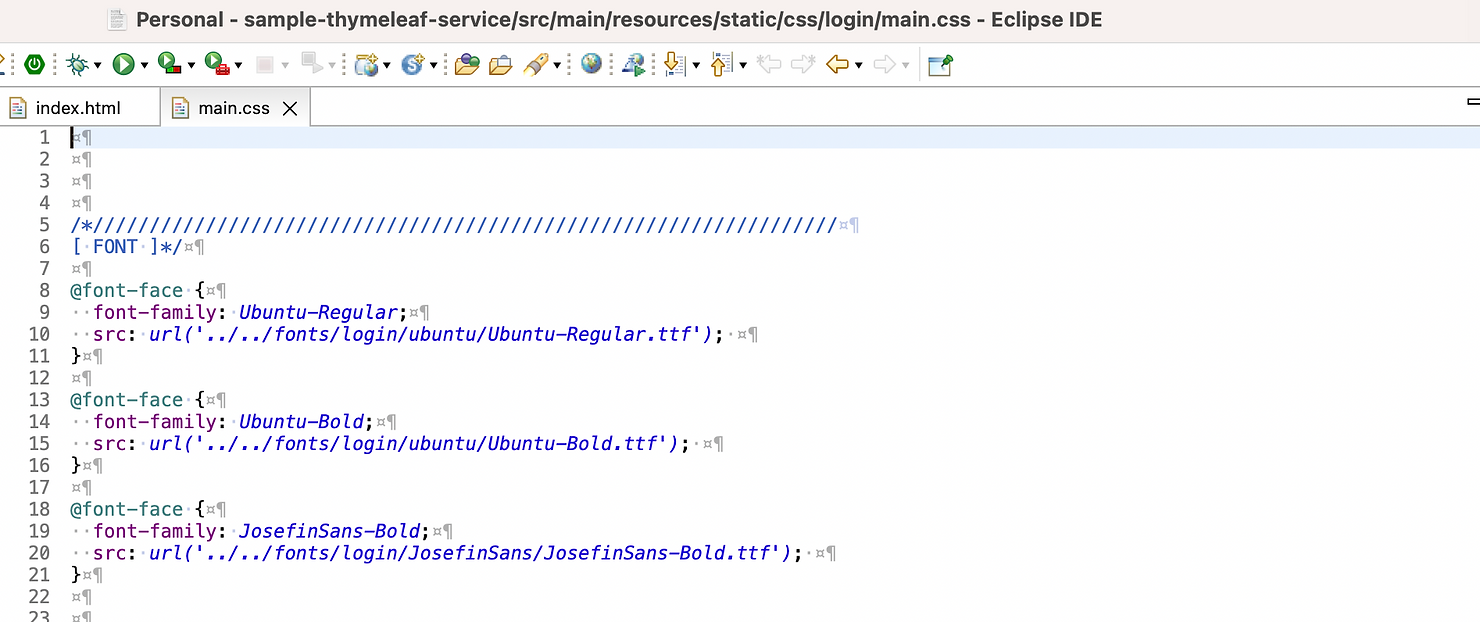
Also, I have added logic to the existing html and css file to highlight when user credential is incorrect.


Next, we can proceed with creating the required Java classes.
Main Application class
Application.java
Controller class with 2 methods. One method to show login page and other method which gets into action after submitting the login form by entering the credentials.
LoginController.java
Of course, we have make model class for the user_credentials as well as repository class.
UserCredentials.java
UserRepository.java
Overall, project structure is as below
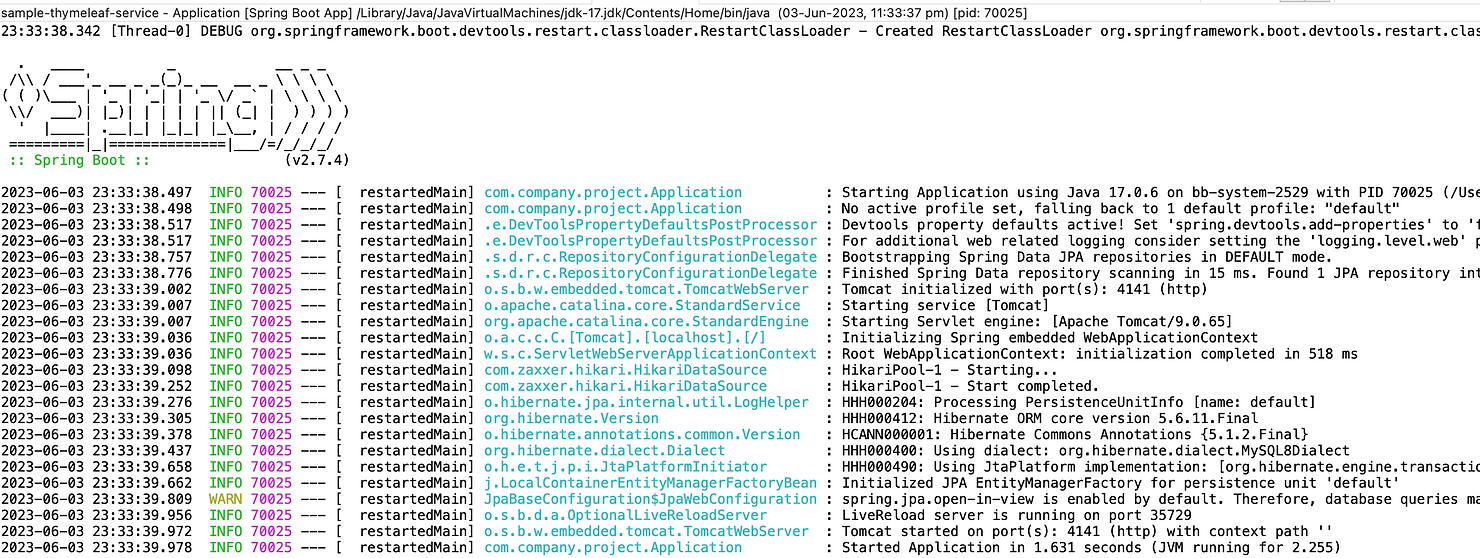
It's time to run the application and see it in action.
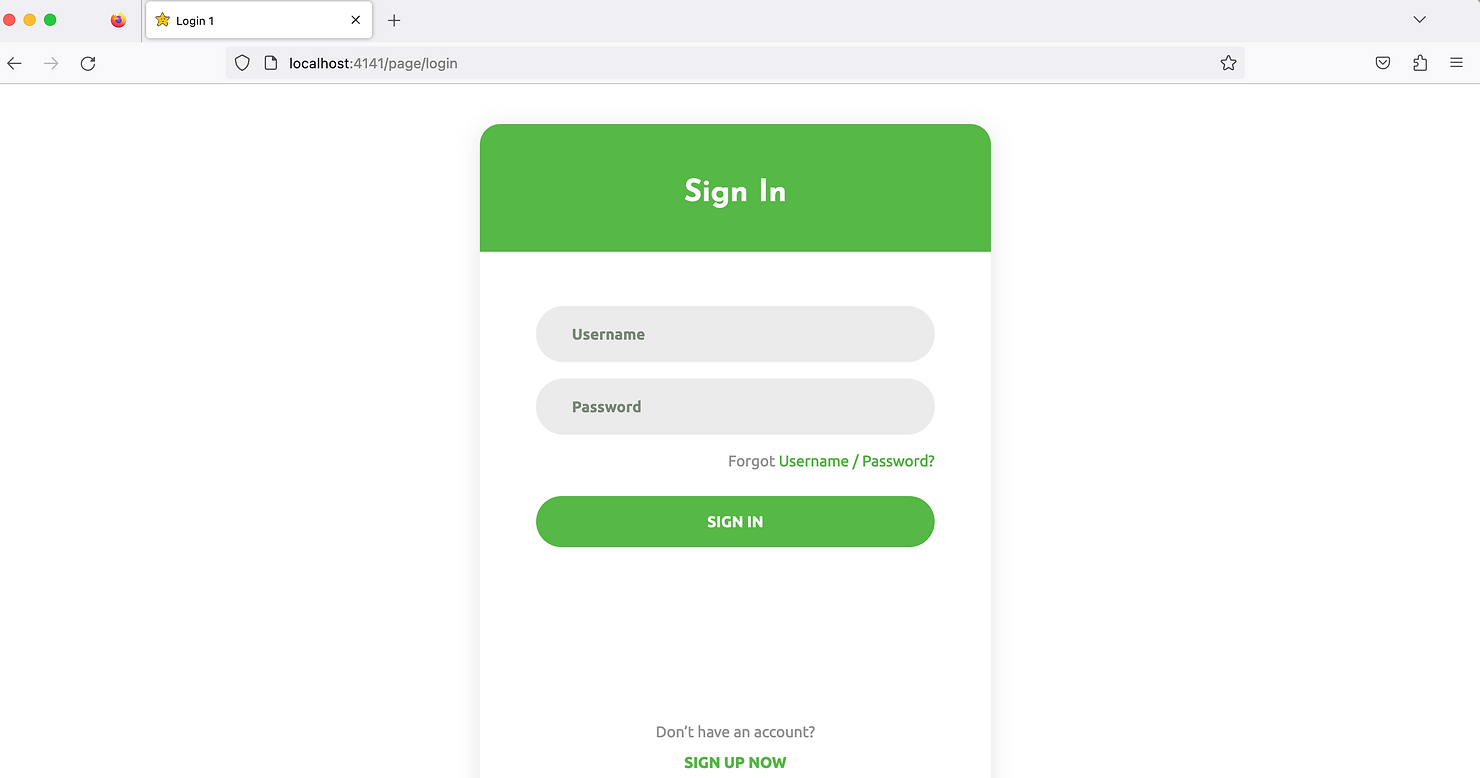
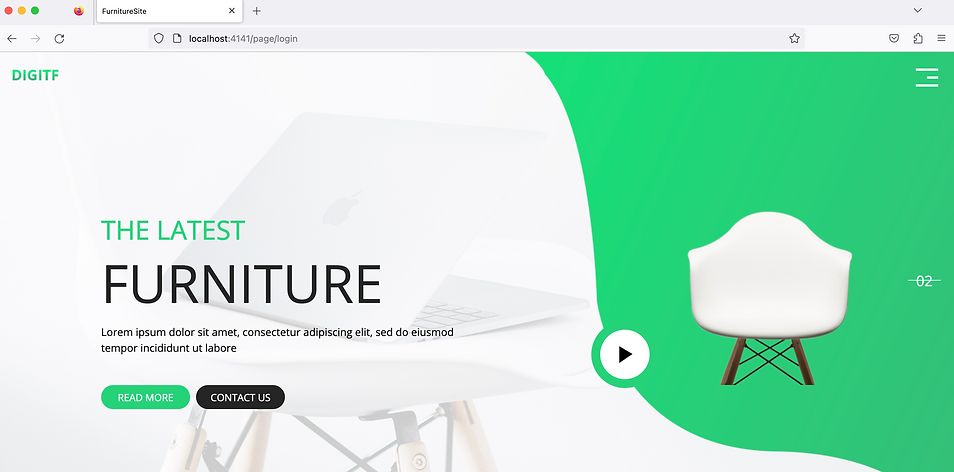
Navigate to this url - http://localhost:4141/page/login
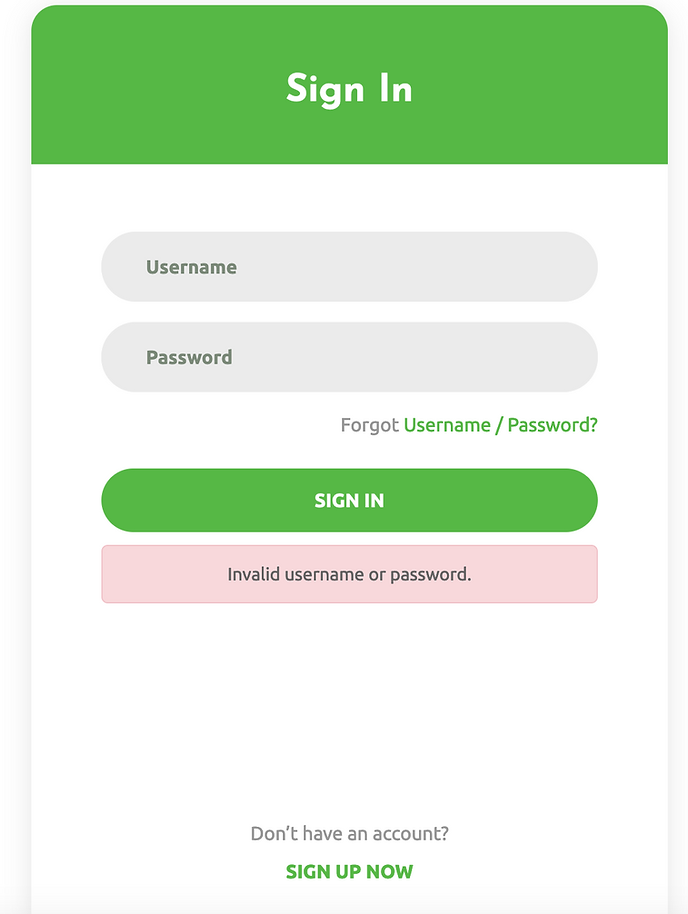
Case 1: Enter incorrect credential
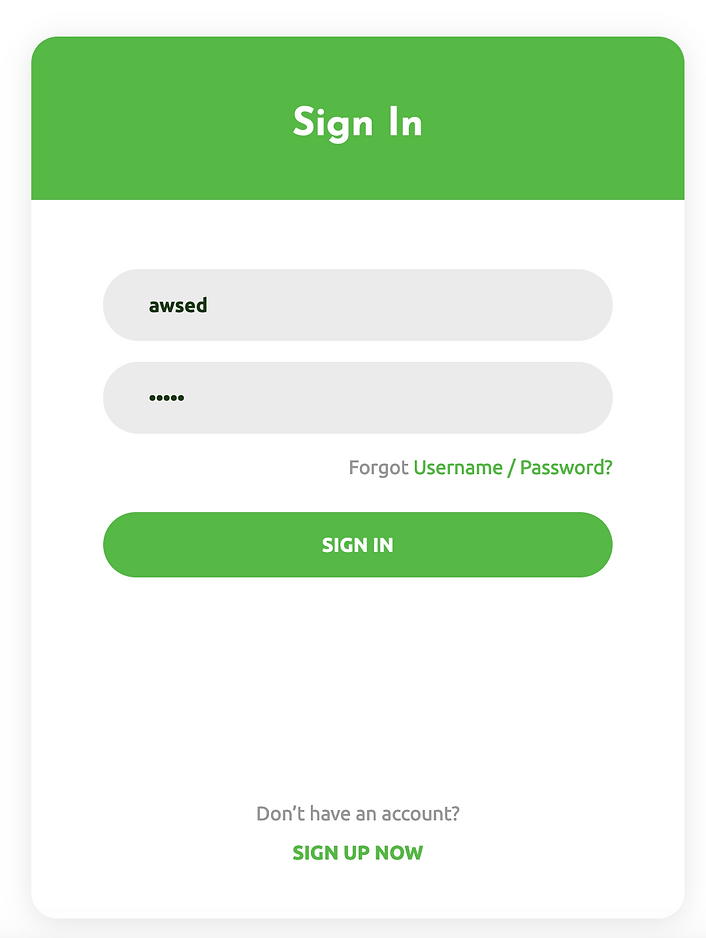
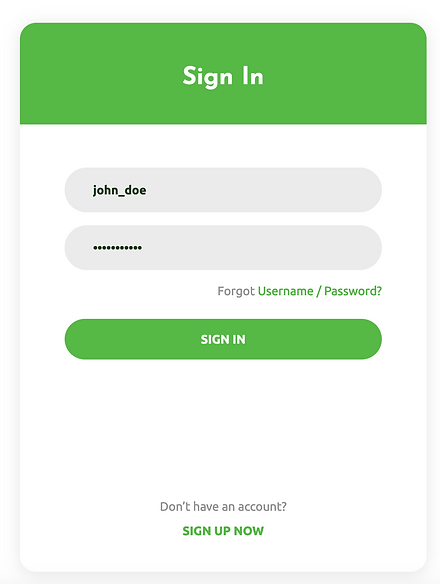
Case 2: Enter correct credential
Attached below are the files for reference.
Last updated